

Confession time: once upon a time, even thinking about sewing curves used to scare the crap out of me. If I spied so much as the whisper of a curve on a quilt pattern, I immediately closed that tab, put that bad boy back on the shelf, and all around walked away from it all.
If you find the thought of sewing curves as intimidating as I used to, let me just say - I get it! I've been there. So trust me when I say they are not as bad as they seem. And after a little practice, you might even learn to love them. Too far, too soon? Maybe. But with this step by step tutorial, I hope sewing curves stops being intimidating and instead looks like something you'd actually try!

Tips for Sewing Curves
Before we jump into the nitty gritty of this tutorial, I’ll share some of my must-know tips for sewing curves. These are things that sometimes get lost in all the steps or are overlooked, but I feel make a big difference.
Starch Your Fabric
I never used to starch my fabric, so I get it if it’s not your thing. However, when working with curves you will be working with fabric that’s cut on the bias. Meaning, the fabric will be stretchy. Not starching your fabric makes the fabric even stretchier, and this is how you can end up with warped pieces.
My favorite starch is Magic Starch by Faultless. It doesn’t have a weird smell and it sprays evenly over fabric. I just give all my fabric a quick spray, then do a quick pass with my iron to dry the starch and ensure my fabric is wrinkle free.
Stop With Your Needle Down
If your machine has a needle down function, make sure to turn that on. If your machine doesn’t have this, then when you stop while sewing, make sure to turn the hand wheel until the needle is down before you rearrange the fabric pieces during the steps below.
As you sew around the curve, you might need to lift up your foot. By keeping your needle down, the fabric will stay exactly in place and nothing will shift around.
Sew Slowly
I know we all want to make quilts as fast as we can, but as you learn this new skill, you’ll want to sew slowly. This is to prevent your fabric from stretching and puckering as you go around the bias edges. Eventually you’ll be able to pick up the pace, but even as someone who’s sewn lots of curves, I still sew slower than usual when doing curves.

Sewing Curves, Step by Step
With those tips out of the way, let’s go into the actual steps it takes to sew a curved seam. Now keep in mind that these are my preferred steps. Could you skip some of this? Sure. But after lots of trial and error, I’ve found these steps are what helps me get perfect curves everytime.
Step 1: Crease
Before we begin to actually sew, we need to mark the center of both our pieces of fabric. This will help us ensure the center of both pieces meet perfectly while sewing.
So, fold your pieces in half along the curve and crease. You can finger press or use your iron. I prefer to use my iron and crease two pieces at once. Using my iron also creates a crease that lasts longer and it's easier to see.

Step 2: Pin
If you’ve looked at other tutorials you might’ve seen that there are three camps - glue basting, use all the pins, and no pins. I'm what I like to call a minimal piner. I use at most 3 pins.
First, line up creases and add a pin at the crease. Then, add a pin at the beginning of the curve and one at the end of the curve. That’s it. Those are the three pin positions I recommend (crease, beginning, end). I find that adding any more pins becomes too cumbersome and makes sewing curves harder, rather than easier.


As you get more comfortable sewing curves, you might be able to skip the beginning and end pins and only pin at the crease. This is how I sew most of my curves these days, but that comes with practice.
Step 2 Alternative: Glue Basting
Some people have found that glue basting the two pieces works better for them than pinning. You can glue the two pieces together in the same three spots where I add pins (crease, beginning, end), or glue baste the whole curve.
Whether you do the three spots or the whole curve, the most important thing to remember is to keep the glue within the seam allowance and to use acid free glue.
If I am using glue, I like to use good ol’ Elmers Glue with a Fineline Glue Tip from Pen and Paper Patterns. This tip allows me to apply the thinnest line of glue to my fabric, which I then set with my iron.


Step 3: Sew the curve
Now that you are ready to sew, put your pieces in your machine with the curve down and the arch on top. Do two or three stitches and stop. Now, gently pull from the center crease so that the bottom piece is laying down flat. Then adjust the top piece, the arch, so that the edges of the fabric line up.


Sew around the curve until you get to pin at the center crease and stop with your needle down. Gently pull from the end so the second half of your curve has the bottom piece laying flat, just like we did with the first half. Once again line up the edges of your fabric and sew around the curve.

If during the sewing process you see any bunching up of your top (arch) piece, stop with your needle down and adjust the fabric as needed. Also, if you need any creases around the curve (but outside your stitching, to the left of your needle), fear not! These will flatten out when you press your seam.
Step 4: Press
You made it! You've sewn your first curve. Now it's time to press your fabric. Usually, I'm a "press it open" kind of gal, but when it comes to curves, I find it's easier to press towards the arch piece.
The fabric kind falls open that way and you give a nice quick press and voila! A beautiful curved block!

Step 5: Trim (Maybe)
Depending on the pattern, you might have some wiggle room built into your pieces. This means you'll have to trim them down to the correct size. It also means if your pieces weren't lined up perfectly, it's ok! Just trim away the excess and no one will be the wiser.
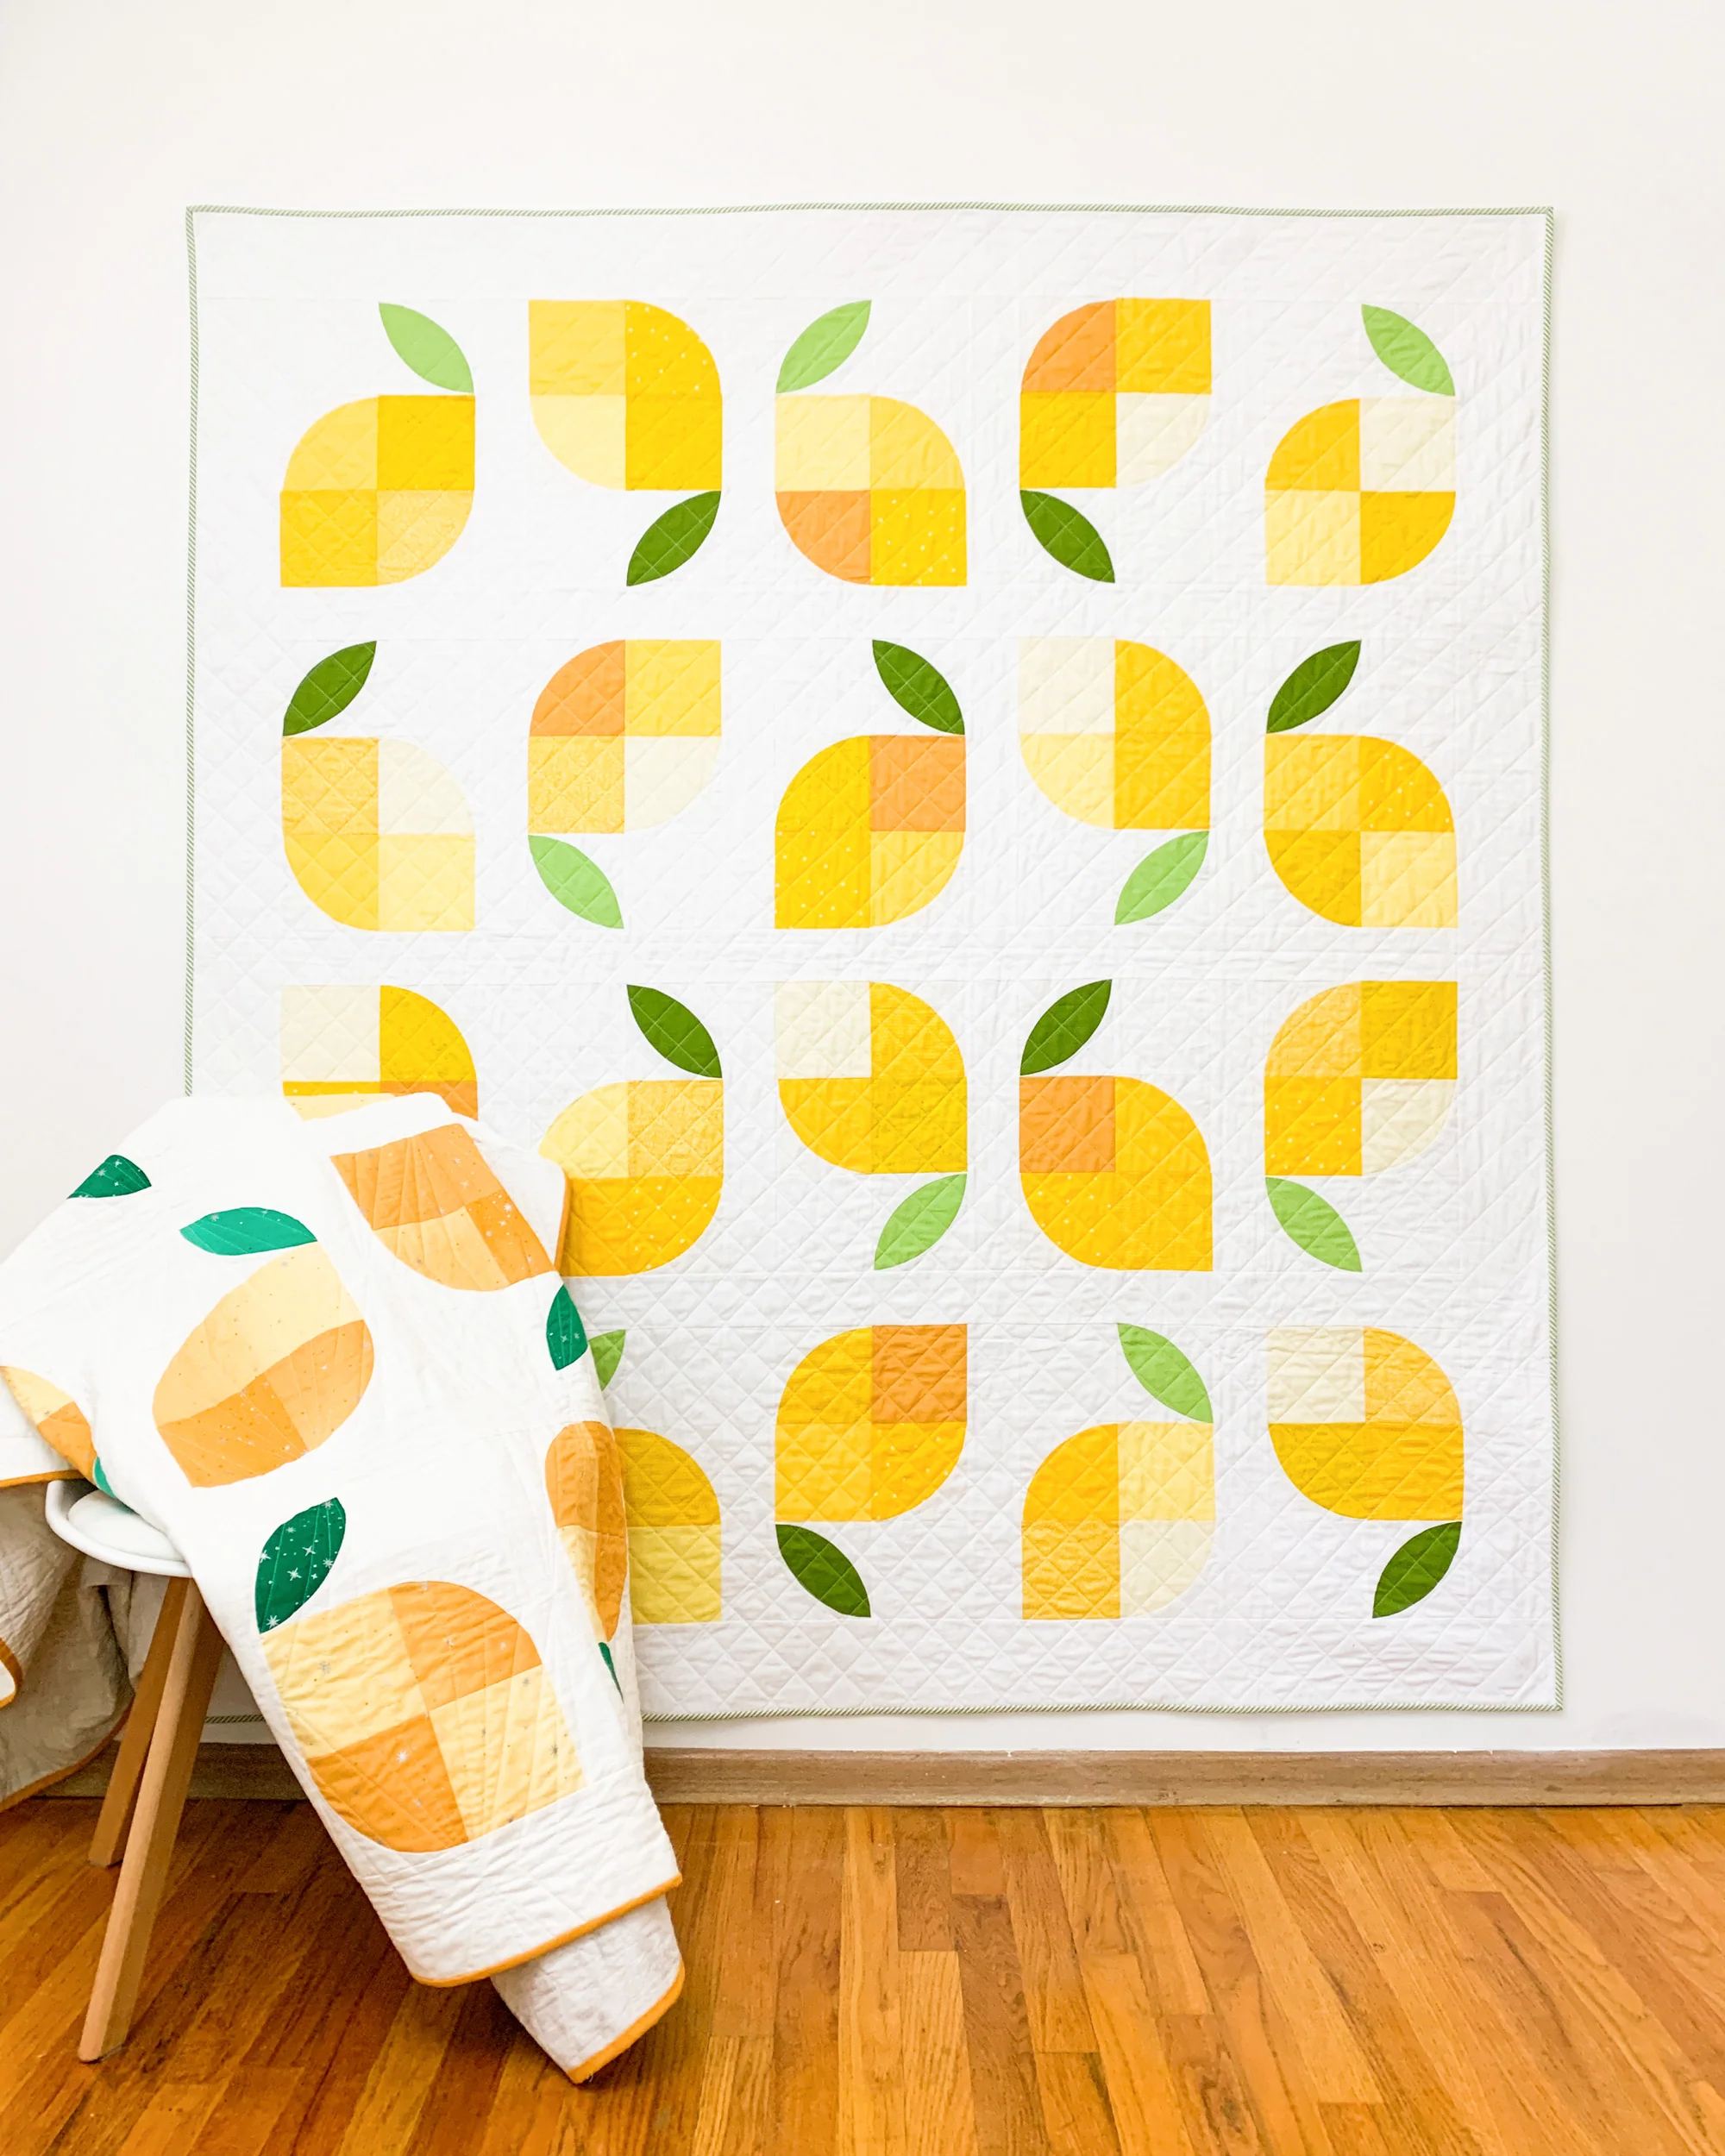
When trimming make sure to leave room for your seam allowances. Here you can see I am leaving a 1/4" seam allowance as I trim this quarter circle block for my Reverie quilt pattern.


And there you have it! Now, what they say is true and practice makes perfect and the more curves you sew, the better they'll be. And you might find that you want less, or maybe more pins. Just remember whatever technique you go with (pin, no pins, glue basting), finding what works for you is the best technique!
Sewing Curves Video Tutorials
If you’d like a better look at how I sew curves, take a look at this playlist on my youtube channel!
Ready to try curves?
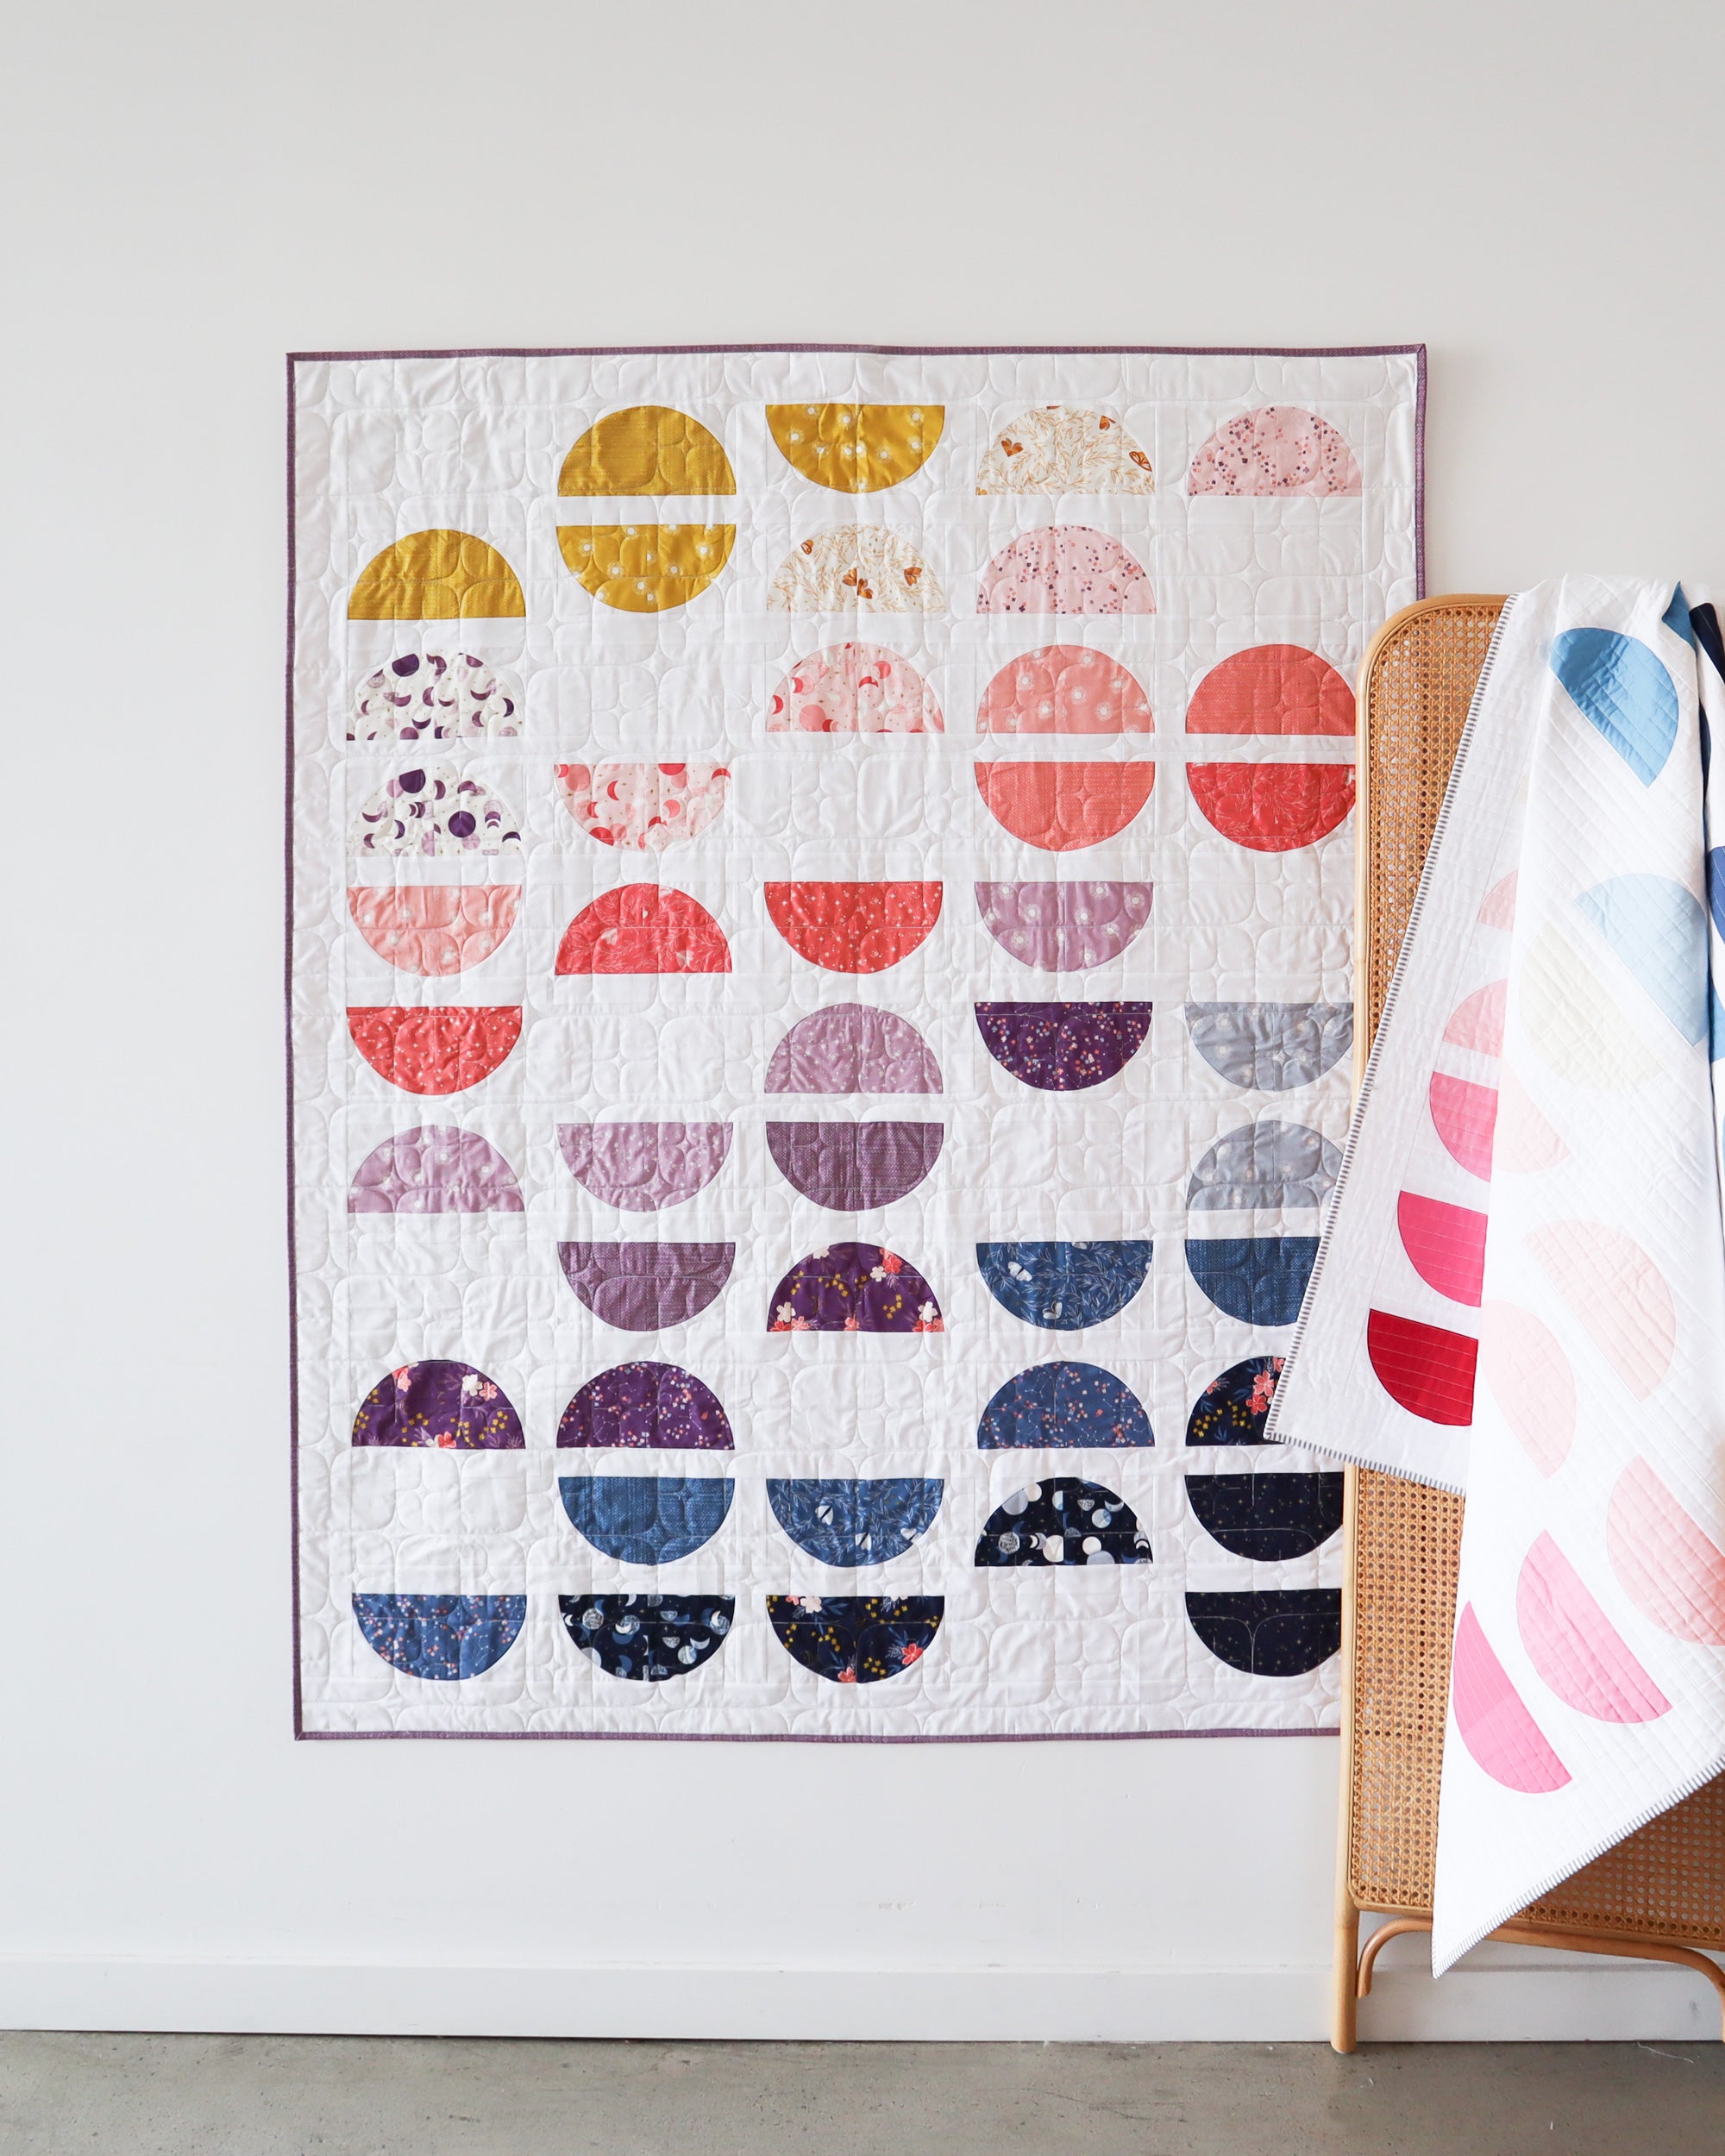
Now that you've seen just how easy it is to sew a quilt block with curves, you can jump right into a quilt pattern with curves! I have some quilt patterns you can try out and practice with below.


Make sewing curves even easier!

One of the more time-consuming parts of sewing curves for me is actually before any sewing takes place. I always dreaded cutting my curve fabric pieces using flimsy paper templates that always slide around and inevitably get sliced up over time as you use it. That's why I worked with Riley Blake Designs to create my Modern Curves Acrylic Template Set! These acrylic templates pair perfectly with all of the patterns see above.


Thanks for a great tutorial!
I’m a new quilter. I’ve tried curves and first times the charm. When I went back to actually make a quilt, I stalled. Your tutorial is so helpful. With a quilting lineage It is in my heart and soul, with Mom and Grandma no longer here, We all thank you!
Will we need this special template to make the new reverie quilt? I can’t see that a template is needed on the back of the pattern. Thanks!