
Sep 10, 2023
How To Make Quilt Binding - Tutorial
So you have pieced your quilt top and got it all quilted. You carefully trimmed the excess backing and batting. Now what? It's time for the victory lap, my friend. It's quilt binding time!
Whether binding is your favorite or least favorite part of the quilt-making process, it is an important step - the final step! But what exactly is it, and how do you make binding?
What is quilt binding?
Binding, in quilting, is both an object and an action.
A quilt's binding is the frame of the quilt. Binding is the finish around the edges, which hides your quilt's raw edges. It’s attached after quilting to finish your quilt, leading us to the action.
Binding is the process of attaching those fabric strips to your quilt, wrapping it around the outer edge, and sewing it down so that the quilt is all done and ready for snuggling.
This post will focus on the object - the binding tape - and how it is made and prepared so it is ready to go for all the binding action in the coming steps.
Now, a quick disclaimer. There are multiple types of binding and ways of making it. However, when quilters talk about binding, we are generally talking about double-fold binding, which we’ll cover here.

Making Your Quilt Binding
Unfortunately, making your quilt binding requires some math, or maybe you love math, which is very exciting. Regardless, please know it’s very easy math.
How long should the binding be?
First, we need to figure out how long your binding needs to be. To do this, you need to measure the perimeter of your quilt and account for extras such as seam allowances, overlaps, and corners.
Let's do a quick example -
- Let's say we have a quilt measuring 58" x 67"
- First, find the perimeter by adding all four sizes: 58" + 67" + 67" + 58" = 250"
- Now, we need to account for seam allowances, overlaps, corners, etc., so let's add an extra 12": 250 + 12 = 262"
How many fabric strips?
Now, unless you have 262" of uninterrupted fabric, we'll need to cut some strips from yardage. But how many? Generally, quilting cotton is 45" wide, but once you remove selvage and square your fabric, you are left with about 42" of usable fabric, so let's use that and divide our number from above by 42".
- 262" ÷ 42 = 6.24
- Since we can't cut 6.24 strips, round up to 7. We need 7 strips from our binding fabric.
Binding Size
Before we cut those 7 binding strips, we need to decide how wide the binding will be. Traditionally, quilts have a binding that's 1/4" wide on the front and back - give or take. Since we are doing a double-fold binding, your strips need to be at least 2" wide. However, 2¼" or 2½" strips are most common. This accounts for the bulk of the batting as you fold your binding over the edge and gives you a little wiggle room for inexact 1/4" seam allowances while attaching the binding.
If you are a beginner, using 2½" strips might be your best bet, especially if you will attach your binding entirely by machine. I used this for years, and only within the last couple of years have I switched to using 2¼" wide strips.
The binding size plus the number of strips help you know how much fabric you need to purchase. The number of strips x Width of finding = fabric size!
Continuing with my example, if I'm using 7 strips, 2¼" wide each, I need (7 x 2.25) 15.75" or 1/2 yard (18").
Now that you know how many strips you need and what size they'll be, you can get them from your fabric!

Make Quilt Binding Tape
Now we are all done with the math and can make the binding tape. That is, sew all the strips you cut into one reallllly long strip of fabric.
We will be joining the strips on the diagonal. This makes sewing the binding onto your quilt easier because the bulk of fabric at the seam will be distributed, and you won't be sewing through thick layers of fabric.
Step 1: Sew your strips together
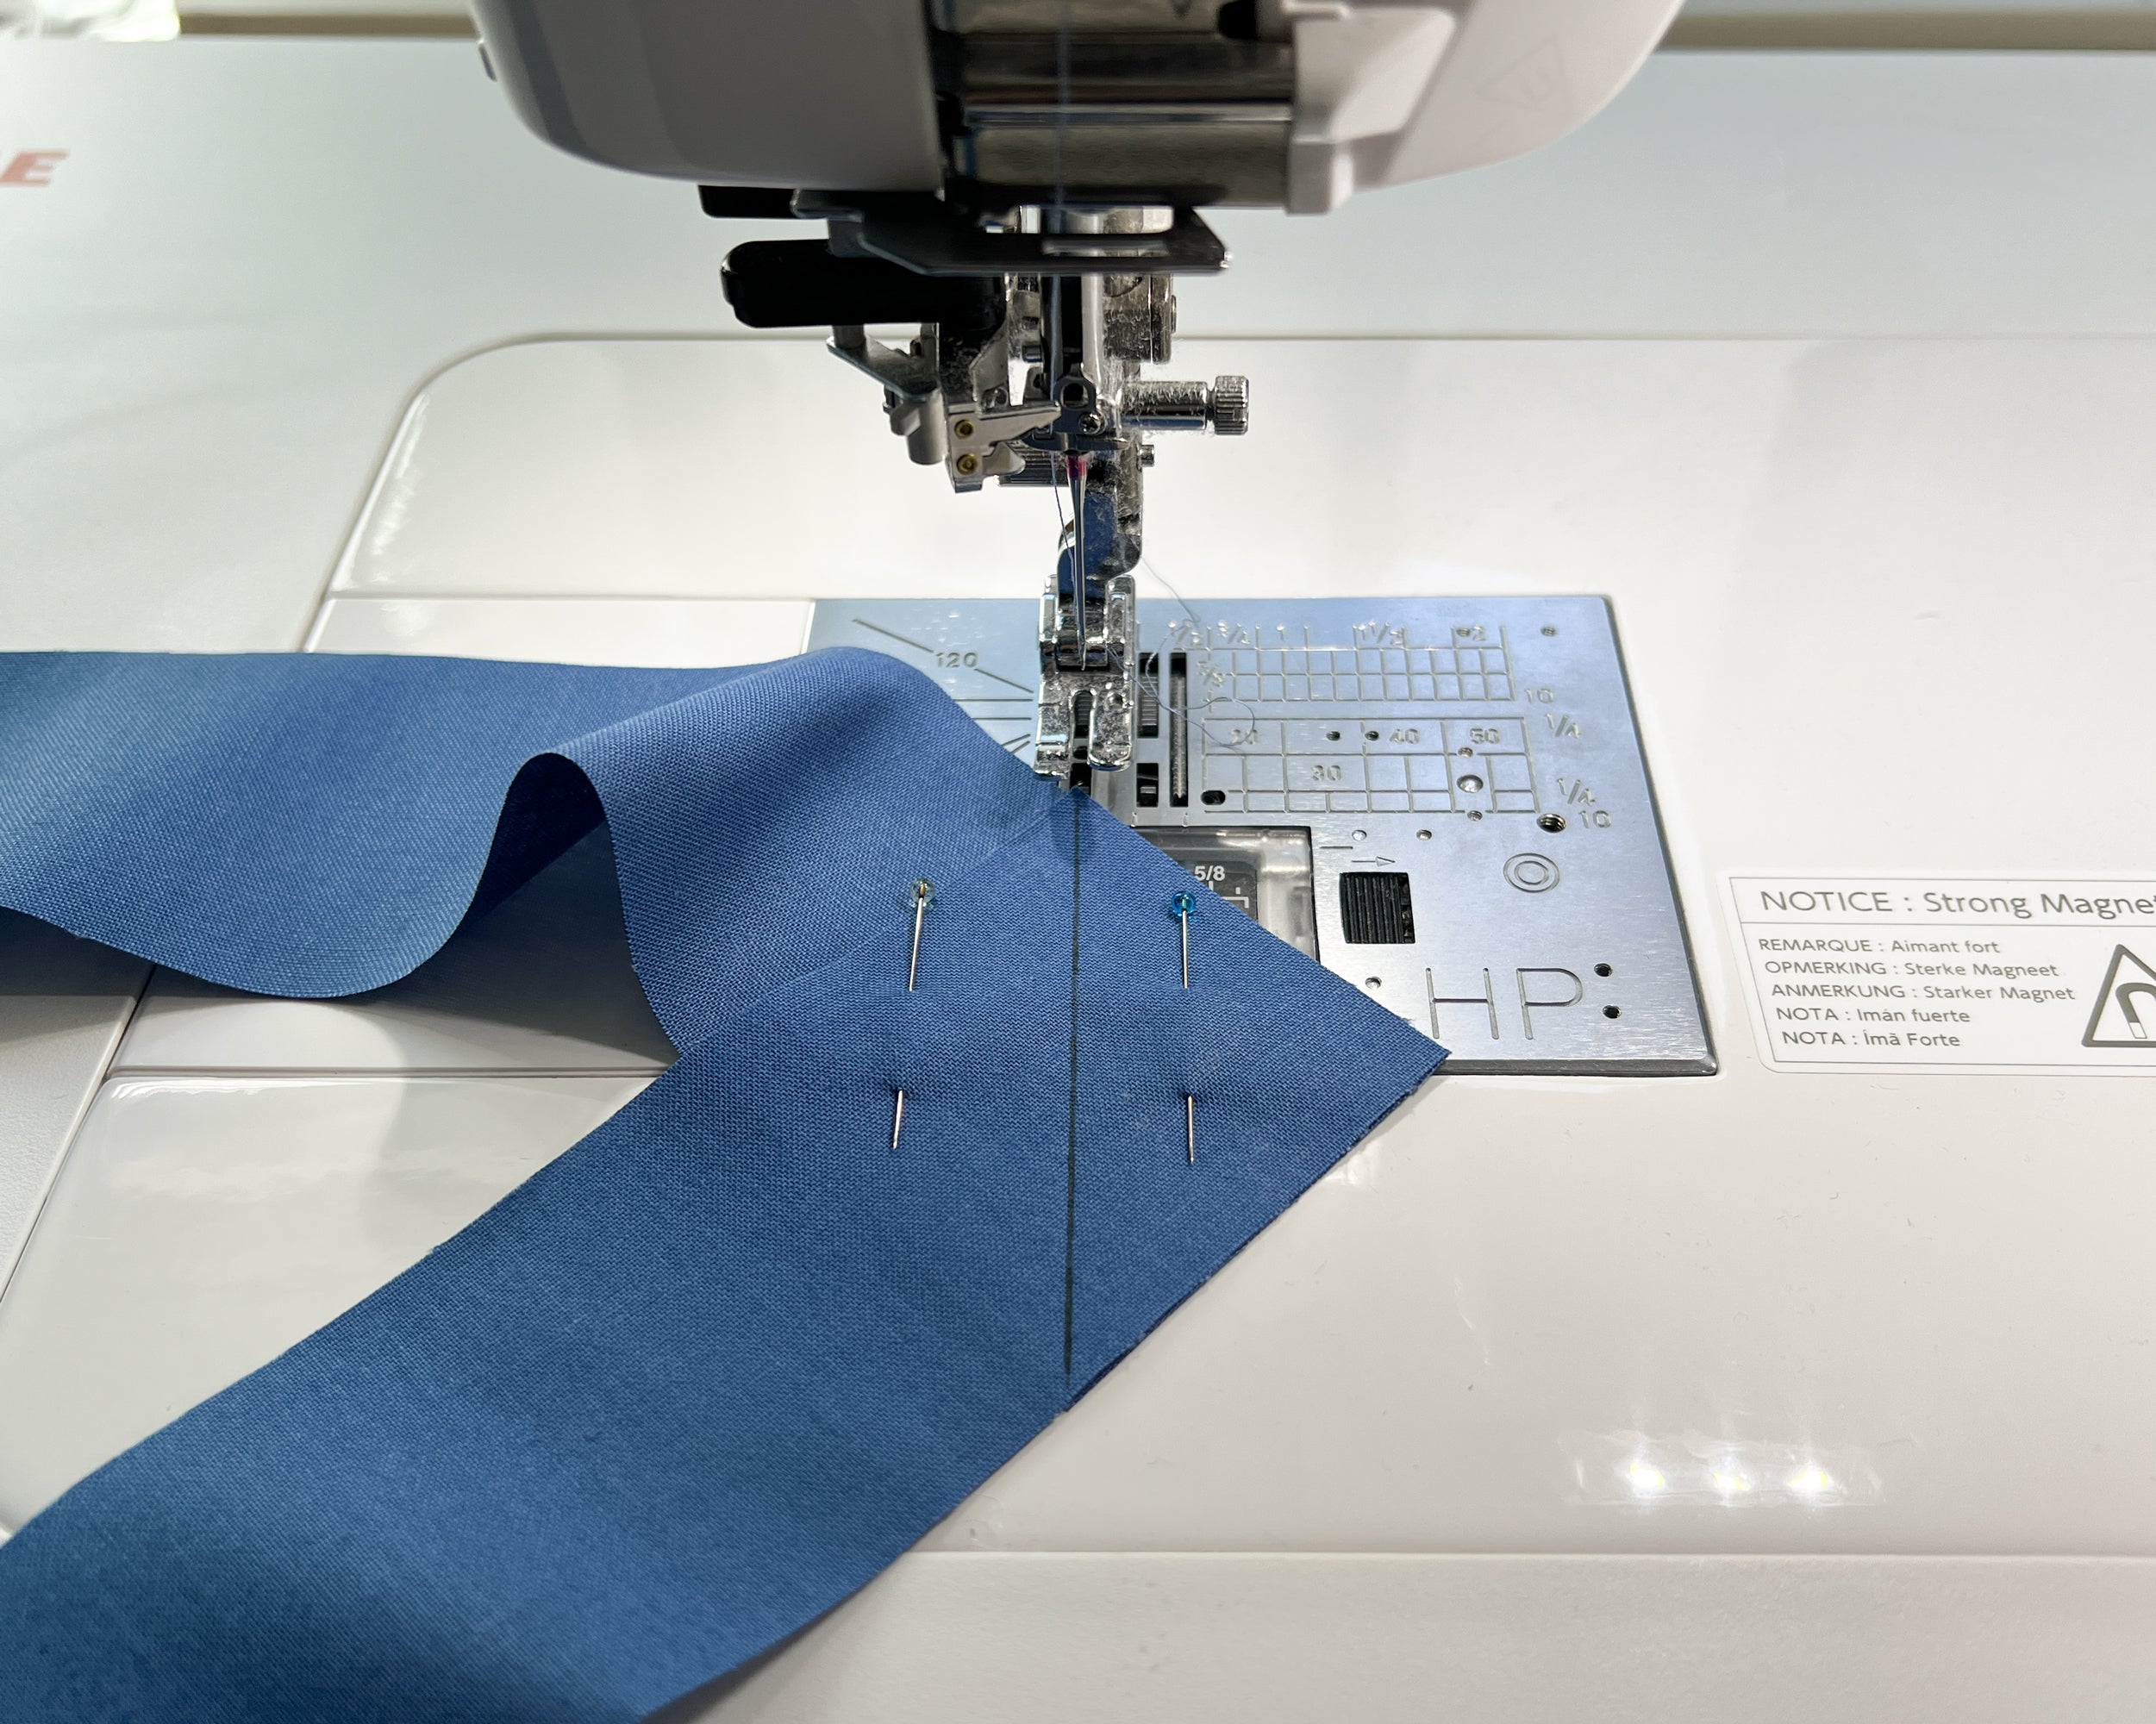
Lay the end of one strip, right side up. Place the end of the next strip right side down on top of the first strip at a 90° angle.
Pin the strips together and mark a 45° line. Stitch on the line. Using this 45° stitching does require more work than doing a straight stitch, but it’s used to reduce bulk on the binding.
Do this with all your strips and then trim away access on this seam, leaving a ¼” seam allowance. You can use your ruler and rotary cutter or fabric scissors.


Quick Note: When working with solids, you might think it won’t matter which side is the right and wrong side. However, you’ll want to assign the right side and wrong sides of your strips as you sew them together. Otherwise, your binding tape will be twisted up, and you'll be very confused. Not that I know this from personal experience.
Step 2: Press Seams
Once you’ve sewed all your strips together and you've cut the excess, press your seams open. I know many quilters prefer to press to the side on almost everything, but when pressing your quilt binding, always press open. Doing this helps reduce bulk at that seam and makes tacking the binding down easier.


Step 3: Fold Binding Strip
Last but not least, fold your strip in half lengthwise, wrong sides together. Ensure that the seam allowance stays open as you fold your strip in half when you get to them. Press the entire length of the binding tape to set the fold.
And that's it! You're done making your quilt binding. I like to make a cute little roll, making it easier to handle while attaching the binding to the quilt.
Quilt Binding Series
This was Part 1 of my quilt binding series. Click the links below for the next steps :)
- Quilt Binding - Part 1: Making the quilt binding
- Quilt Binding - Part 2: Attaching the binding to the quilt
- Quilt Binding - Part 3: Finish the binding by machine
- Quilt Binding - Part 4: Finish the binding by hand


