
Jul 21, 2023
Flying Geese - Four at a Time
Much like half-square triangles, Flying Geese are foundational units in quilting, and they show up again and again in quilt patterns. This is because their versatile design can be used in various ways to create intricate and beautiful quilts.
One of the most popular methods for creating flying geese is the "four at a time" technique, also known as the no-waste method, and with good reason!

When you make flying geese one at a time, you snowball the corners and discard the cut-off corners/triangles. However, with the four-at-a-time method, you can create four flying geese units from a single large square of fabric and four little ones, and there are no cut-off corners.
Flying Geese Quilt Block Formula
Before we get to the math, let’s look at the anatomy of a these blocks. It’s called that because it resembles a group of geese flying in a V formation. This means the big triangle is the “geese” flying, and the smaller triangles on the side are the “sky”.
Additionally, flying geese blocks are twice as wide as they are tall. So if a block is 4” wide, it’ll be 2” tall. This gives us a simple way to calculate the squares needed for four at a time flying geese:
- For the geese, cut a square that is the finished width of your block plus 1¼".
- For the sky, cut four squares that are the finished height of your block, plus ⅞".
Continuing with my example, if I want a block that is 4” x 2” finished, I will need one large square that is 5¼” and four smaller squares that are 2⅞”.

A Quick Tip
This math is for zero waste on your flying geese - which is great! But this also means you need to be pretty dang perfect with your sewing. Otherwise, your block will come out a bit wonky.
I prefer a Minimal Waste Four At A Time Method. I add a bit of wiggle room to my squares and then trimmed my units. This addition creates waste, but it’s minimal and worth having perfect units.
My math is as follows: for the geese, I add 1½”, and for the sky, I add 1”. This tiny bit extra gives me the room I need for better flying geese units.
Continuing with my example, but with this new math, if I want a flying geese block that is 4” x 2” finished, I will need one large square that is 5½” and four smaller squares that are 3”.

How To Make Flying Geese Quilt Block
Now that we’ve got the math out of the way let’s get sewing. To make flying geese using the four-at-a-time method, follow these steps:
1. Use the math or chart above to cut one large square of fabric for the "geese" and four smaller squares for the "sky" fabric.
2. Draw a diagonal line on the wrong side of each small square.
3. Place two small squares on the large square, right sides together, lining up the edges. Pin, if necessary.


4. Sew ¼” seam on each side of the drawn line.
5. Cut along the drawn line and press seams.


6. Place one small square, right sides together, on each of the units from Step 5. Please note the direction of the diagonal line.
7. Once again, sew 1/4" along both sides of the drawn line, cut on the lines, and press seams.
You now have four beautiful flying geese units!


Flying Geese with Directional Fabric
The steps for making flying geese with directional fabric are the same. However, in step 6, when placing the last two small squares on the pressed units, you need to pay attention to how you place them.
When using directional fabrics, these small squares will be placed “sideways” compared to the already sewn squares so that they will face the correct direction when you press them.
You can check that they are in the correct direction by flipping them open before sewing. Are your prints going in the same direction as in the second photo below? If not, rotate the square 90 degrees.


How To Trim Flying Geese Blocks
Trimming isn’t always needed when making flying geese blocks. However, if you made you added a little extra fabric to your blocks, as I recommend, then you will need to trim your units to size.
And the good news is you don’t need a specialty ruler to trim flying geese. All you need is a ruler with a 45-degree line.
Here’s how to trim your flying geese:
1. Place your block on your cutting mat, right side up.
2. Line up your ruler's 45-degree line along the seam, and make sure the line marking the unfinished width of your block lines up with the seam line. In the picture below, you’ll see my ruler’s 45-degree line lined up with the seam and the 4 ½” mark on the seam.


3. Trim the excess fabric from the right and top sides of the block.
4. Rotate the block 180 degrees, line up your ruler with the newly trimmed base of the block, and trim the excess fabric from the right-hand side, leaving a ¼” seam allowance on the point.


I hope these tips help you along the way!
Are you ready to try some patterns with flying geese? Give these a look!
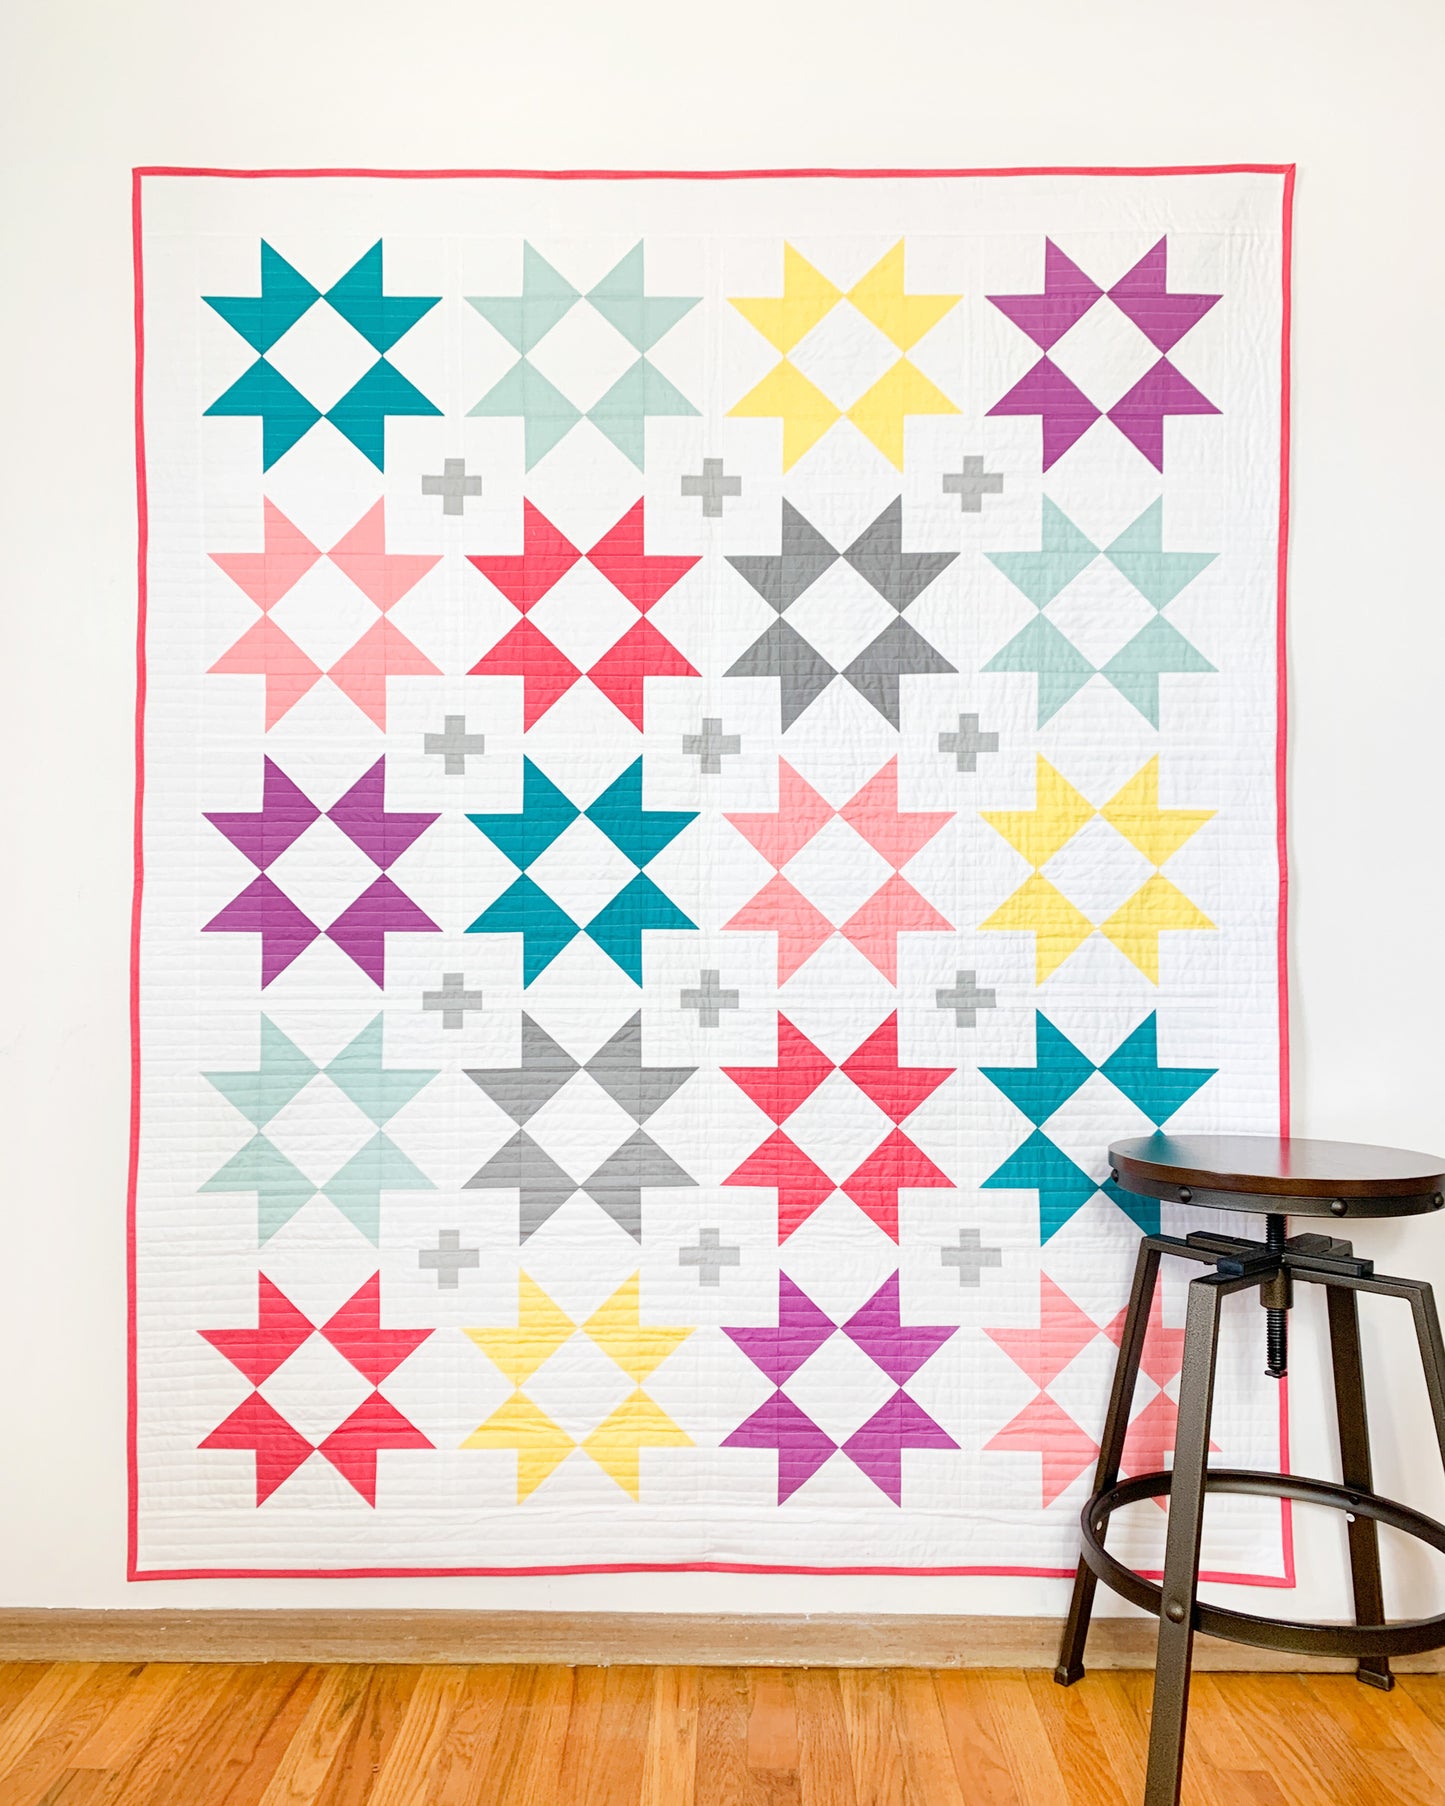
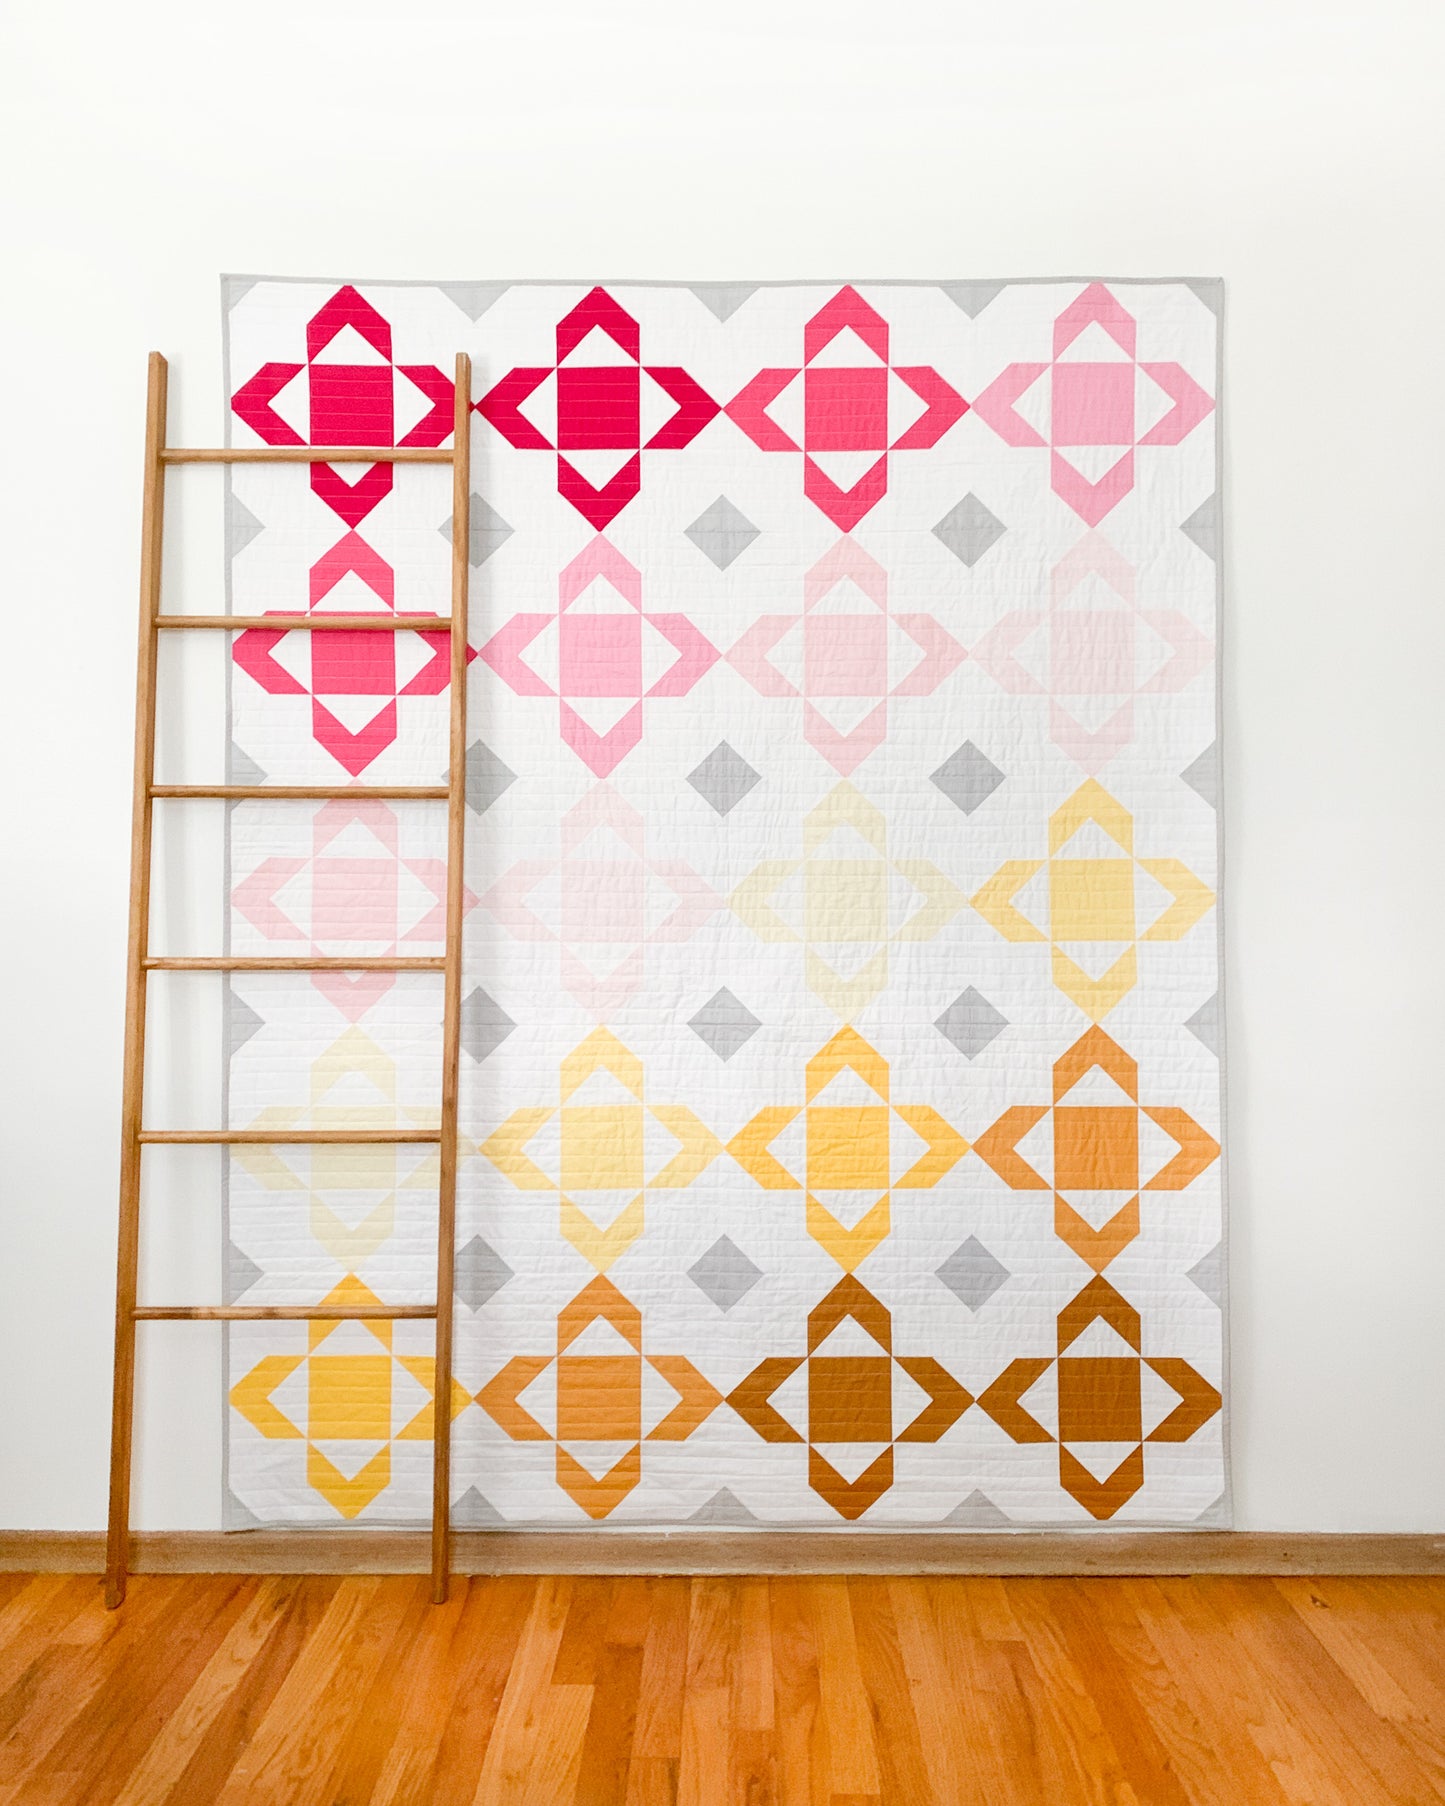
Quilt Patterns Using The 4 At A Time Flying Geese Method!


6 comments
I am so happy to find this. Your explanations are clear and easy to follow, giving me a big boost of confidence about making my very first quilt. You are generous and I am grateful!
Thanks so much for the explanation. It was a great help!
Patsy Feb. 12, 20025Thank you for helping me improve my sewing skills