Generally speaking in quilting, as long as your 1/4" seam allowance is consistent, you are good to go. However, some patterns due to the sheer number of seams they have, you'll need to have a scant 1/4" seam allowance.

Why is a scant 1/4" seam allowance important? Because when you press your seams, whether they are pressed open or to the side, you lose a little bit of fabric to the thread width and fold after pressing your seams.
A scant quarter inch seam takes this loss of fabric into account so that the dimensions of your blocks stay true.
In most patterns, this minimal loss doesn't matter. However, given the number of parallel seams in some patterns, the scant seam allowance does come into play. For example, my Cabin Peaks pattern has 6 vertical and 6 horizontal seams. This means that even if you lose only 1/32-1/16 of an inch, that's almost a 1/4" that you'd lose on either direction!
Finding Your Scant 1/4" Seam Allowance
So how do you find your scant seam allowance? It's a matter of testing and moving your needle's position until it's just right.
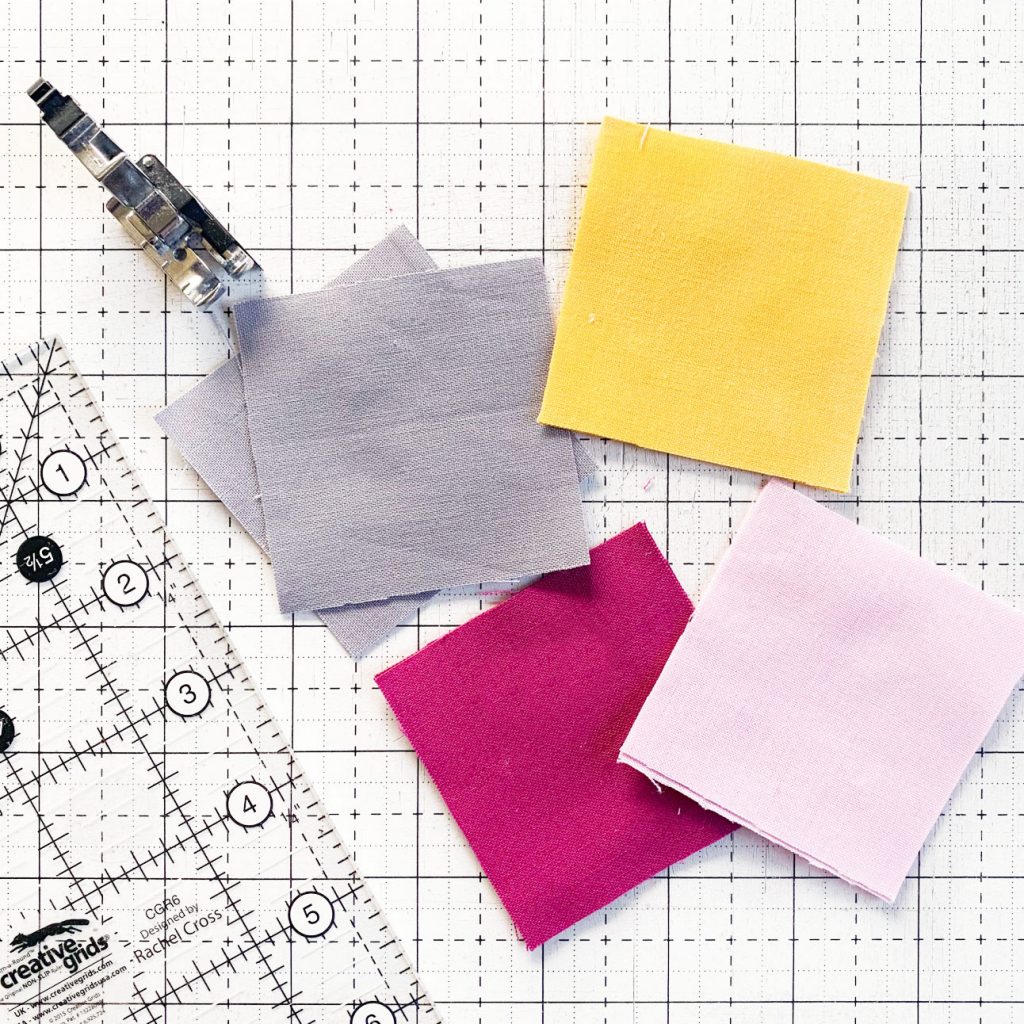
First, cut four to six 2 1/2″ squares. I just grabbed some from my scraps stash, they don't have to look pretty together but it is best if they are contrasting so you can see what you're looking for.

Sew the squares together into a row. I recommend using your 1/4" foot or another reference that you think is a good 1/4" seam allowance. Once your squares are all together, press your seams whichever way you usually do - open, to the side, whatever you usually do, do that.
Now get a ruler, and let's see what we've got. I sew my four squares using the 1/4" presser foot that comes with my machine and left the settings on the machine as they are on default with my needle position at 3.5.
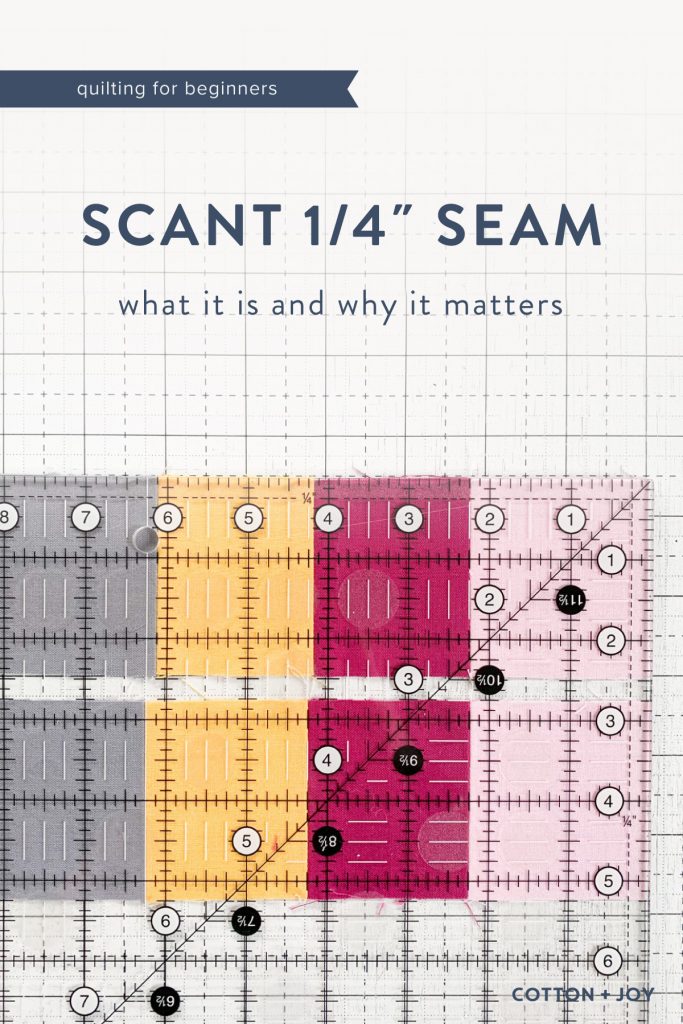
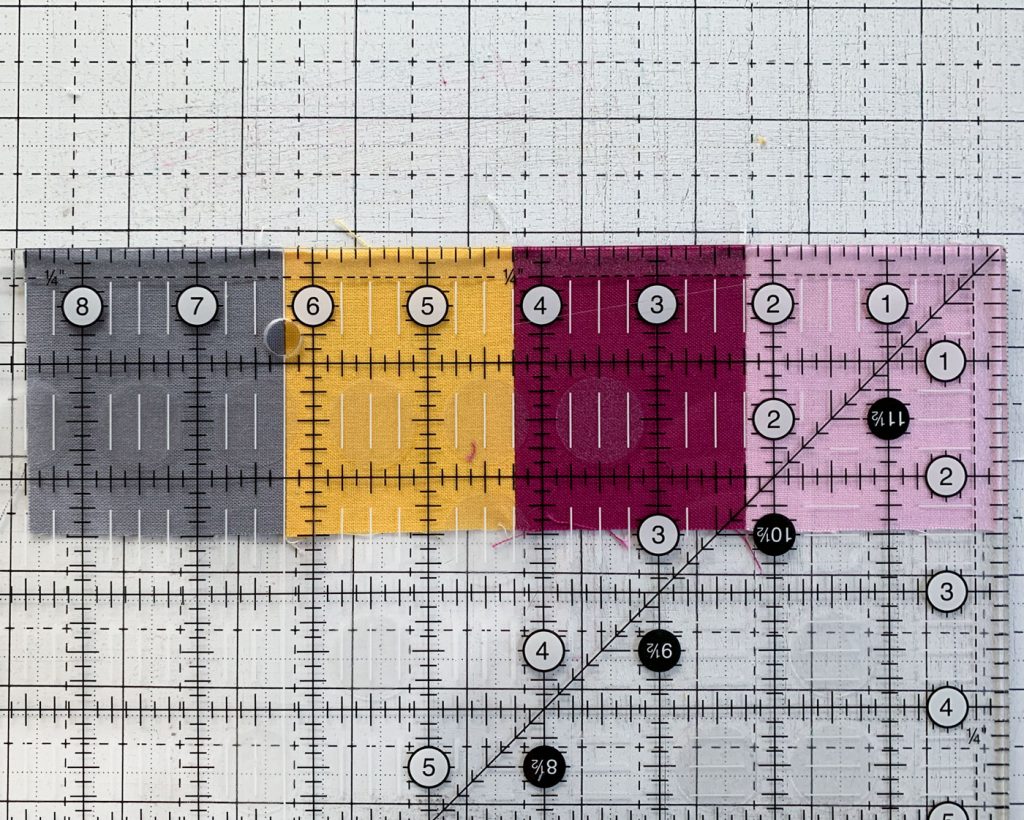
The squares should, in theory, add up to 8-1/2" but they're in fact almost a 1/4" smaller! You can see the issue starts with the very first (grey) square. The seam is just short of the 2-1/4" mark, meaning the seam allowance is too wide, eating up too much fabric. This error compounds the more seams there are, making the whole row too small.

If you find your first row of squares has the same problem, it's too small, you'll need to adjust your reference so the seam allowance is a tiny bit smaller. In my case, I moved my needle position to the right, closer to the guide on my 1/4" foot. I moved it from 3.5 to 4.0 to 4.5. You might need to repeat the exercise multiple times until you get accurate 2″ widths and the right overall length.
The picture below is of four squares after I found my scant seam allowance. You can see how the first square is right at 2-14" and the seams from there on fall right on the marks and the overall length falls right at 8-1/2". This is the perfect scant 1/4" seam allowance.

But what if your squares were too small and your row was too long, longer than 8.5"? Then your seam allowance is too scant and you need to make it wider - move your needle farther to the left.
Trending Patterns
Final Thoughts
First, pressing. Whether you press open or to the side will yield slightly different scant seam allowance. So whatever method you prefer, use that to figure out your seam allowance and if you change your way of pressing for a specific block or pattern, be sure to double-check your seam allowance to stay true.
Second, different fabrics will also affect your seam allowance. Kona cotton is thicker than Art Gallery fabric, and both are thinner than Essex linen. This difference in thread count can affect your seam allowance so be sure to keep that in mind as well.
FURTHER READING: TIPS FOR ACCURATE PIECING


